How to Add a Beautiful Introduction to Your GitHub Organization Page
This page is also available in: 中文

Just like you see here, adding a README page to a GitHub organization account is very simple. You can visit https://github.com/torchtree to see the final result.
In simple terms, it only requires a few steps:
- First, create a repository named
.githubunder the organization account. - Then, create
.github/profile/README.mdand fill in the introduction. - Publish.
1. Create a .github repository
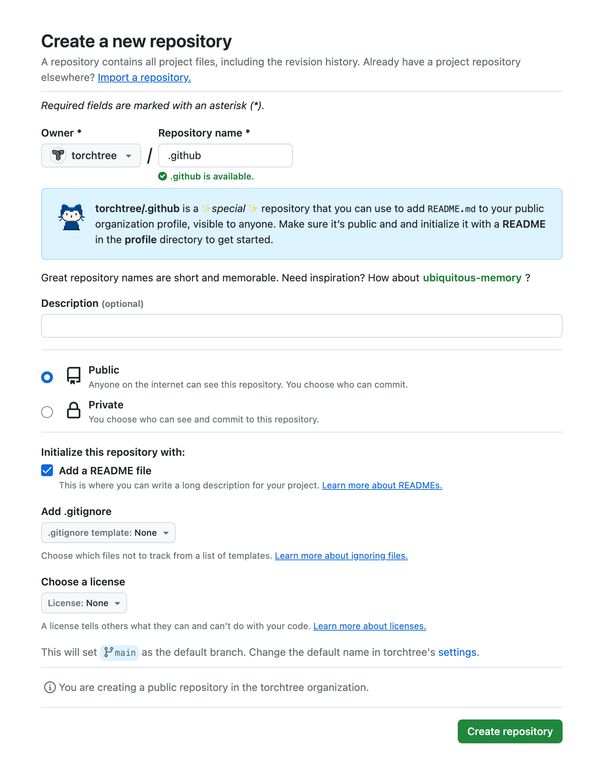
In fact, you can find the prompt to create a .github repository on the right side of the organization page. Of course, you can also manually create this repository, but please note:
- Do not fill in the repository name as
.github. - The repository needs to be
publicfor public access.
2. Create the /profile/README.md file
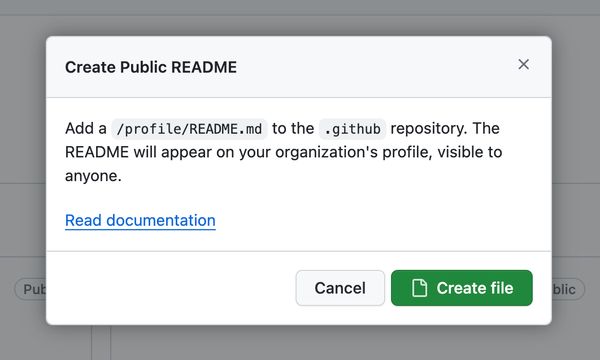
Similarly, you can find relevant prompts on the right side of the organization page. Based on this, you can directly create the required README.md file in the correct path. Of course, manual creation is also possible. Just make sure to create the README.md file in the /profile/ directory of the repository.
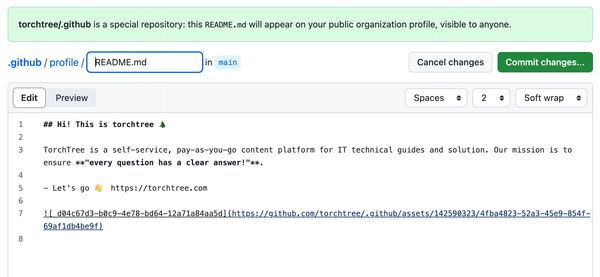
I used Microsoft's AI Image Creator to generate an image based on the project introduction of torchtree as a prompt, making the project introduction look rich and colorful.

After committing the changes, you will see a beautiful introduction on the homepage of your organization account. Give it a try!
This article was published on 2024-01-20 and last updated on 2024-01-20.
This article is copyrighted by torchtree.com and unauthorized reproduction is prohibited.