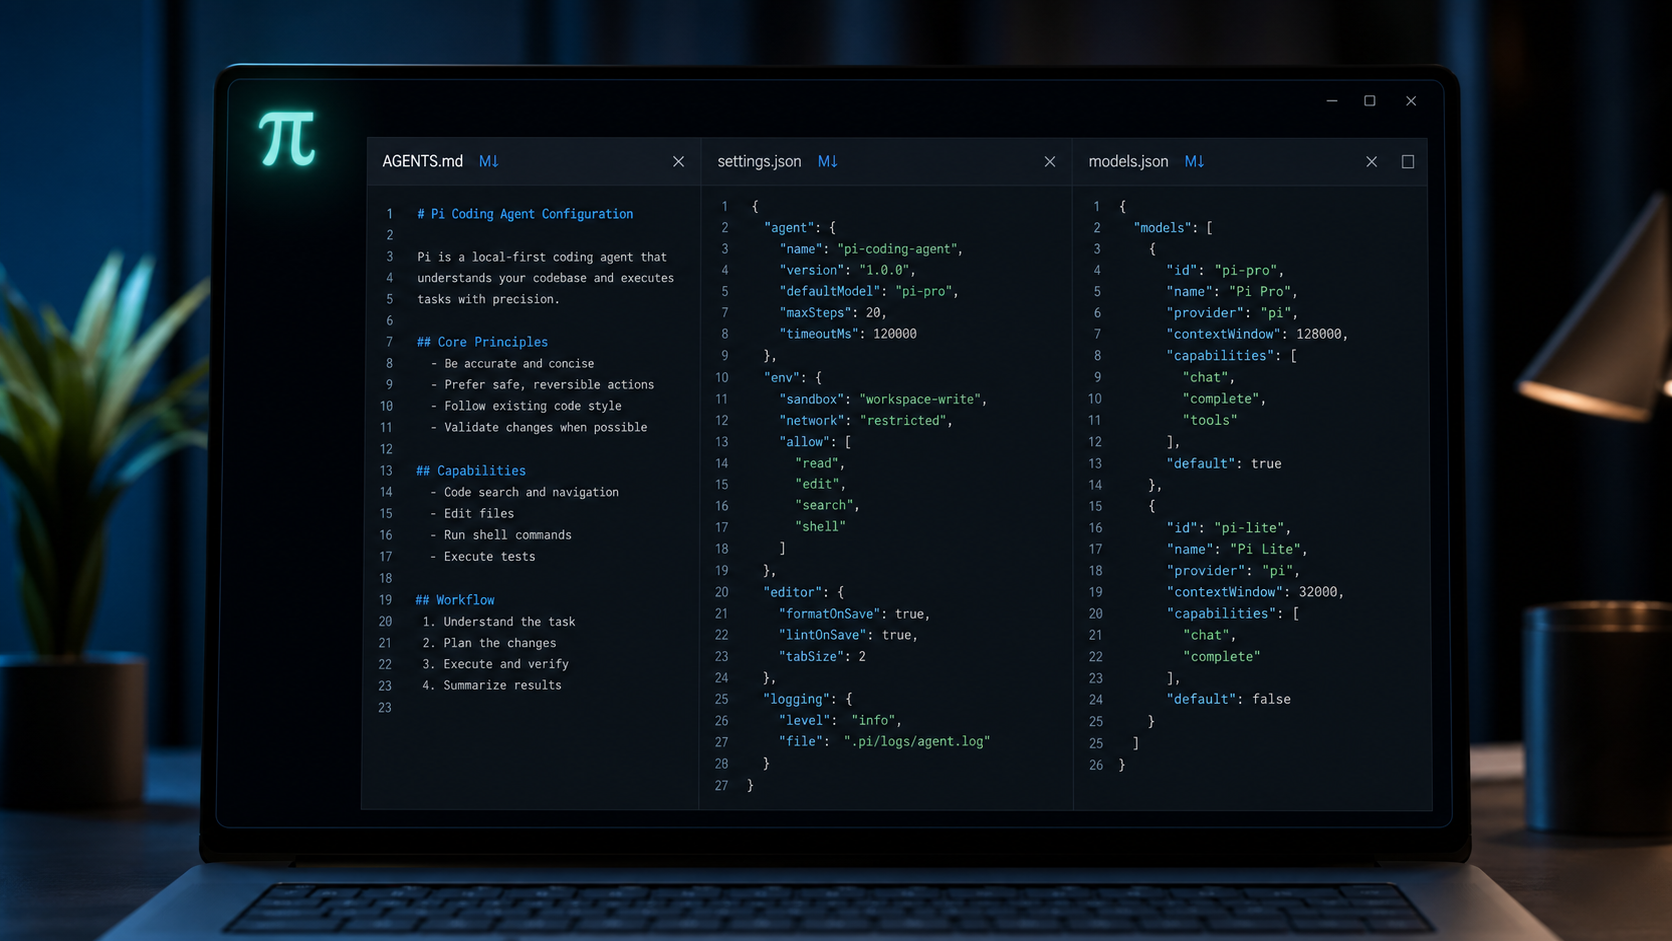
In the article Pi Coding Agent in Practice: From Installation to Everyday Use, I covered Pi’s installation, first-time configuration, and its core extension packages. That content lets beginners get up and running quickly, but Pi’s real flexibility lives in its configuration files.
Pi’s core is just 418 lines of TypeScript, and by default it only gives the model four tools (read, write, edit, bash). All of its advanced behavior — which model to use, how large a context, how deep to think — is controlled through external configuration files. Understanding how these files relate to each other and how they’re prioritized is the key step in taking Pi from “usable” to “actually good.”
How many layers does Pi’s configuration have, and what does each one manage?
Pi’s configuration system uses a layered, additive design. Once you understand what each layer is responsible for and its order of precedence, you won’t run into “I changed it but nothing happened.”
Global configuration lives in ~/.pi/agent/, affecting all projects. Project configuration lives in a project’s .pi/settings.json, affecting only the current project. Nested objects in the project config are merged with the global config rather than replacing it entirely.
Beyond the two layers of settings.json, Pi also uses four specialized configuration files, each with a different purpose:
| Config file | Location | Purpose | Load timing |
|---|---|---|---|
| AGENTS.md | Project root or ~/.pi/agent/ | Project context and coding instructions, injected into the system prompt | Auto-loaded at startup |
| APPEND_SYSTEM.md | ~/.pi/agent/ | Global behavior rules, appended to the end of the system prompt | Loaded at startup |
| settings.json | Global or .pi/ | Model selection, UI theme, compaction strategy, retries, and other runtime parameters | Loaded at startup |
| models.json | ~/.pi/agent/ | Custom models and Providers (Ollama, vLLM, etc.) | Reloaded each time you open /model |
| auth.json | ~/.pi/agent/ | API keys and OAuth credentials (permission 0600) | Read on demand |
Below I’ll break down best practices for each configuration file in turn.
How to write an AGENTS.md that actually works
AGENTS.md is the primary entry point for Pi to understand a project’s context. When Pi starts, it looks in several locations and merges their contents into the system prompt: it loads ~/.pi/agent/AGENTS.md first (global instructions), then walks up through parent directories, and finally loads the AGENTS.md in the current directory.
In other words, the global AGENTS.md defines your typical tech stack and general conventions as a developer, while the project AGENTS.md defines that specific project’s constraints and workflow.
What to put in the global AGENTS.md
The global ~/.pi/agent/AGENTS.md is a good place to record the tech-stack preferences you use day to day. The global AGENTS.md that DeepakNess shares on his blog is a great reference example:
This content comes from DeepakNess’s article, Setting Up and Using the Pi Coding Agent. It doesn’t try to be overly specific — instead it gives broad tech-stack hints while asking Pi to defer to the project-level AGENTS.md first.
How to organize a project AGENTS.md
The project-level AGENTS.md needs to be more precise. Here’s a template tailored for a TypeScript project, based on the recommendations in the official Pi documentation:
If you manage multiple projects, it’s worth keeping a template for each project type. Copy it over each time you start a new project and adjust the tech-stack fields as needed.
Remember to reload after changes
Every time you modify AGENTS.md, you need to run /reload or restart Pi for the change to take effect. This operation isn’t triggered often, but it’s easy to forget. It’s best to test immediately after writing a new rule to confirm Pi’s behavior changed as expected.
What does APPEND_SYSTEM.md control?
~/.pi/agent/APPEND_SYSTEM.md is appended to the end of the system prompt, and it takes precedence over AGENTS.md. This means its instructions override what came before.
It’s a good fit for defining behavioral guidelines that apply across projects, especially constraints about how the agent works and how it interacts with the user. Drawing on official recommendations and community practice, a typical APPEND_SYSTEM.md looks like this:
These rules ensure Pi maintains a consistent way of working across projects, without having to restate everything at the start of every conversation.
settings.json: common options explained
settings.json has two layers: global (~/.pi/agent/settings.json) and project (.pi/settings.json). Nested objects in the project layer merge with the global layer. Drawing on the official Pi Settings documentation, here are the settings most worth knowing:
Models and thinking levels
defaultProvider and defaultModel control the model Pi uses by default at startup. defaultThinkingLevel sets the thinking depth, with options including off, minimal, low, medium, high, xhigh, and max.
enabledModels is a high-impact setting. It defines the list of models cycled through by Ctrl+P, and supports wildcards. If you leave it unset, Ctrl+P iterates over every available model for that provider, which hurts the experience significantly.
thinkingBudgets lets you customize the token budget for each thinking level. The numbers above follow the defaults given in the official Pi documentation. Whether to adjust them depends on your model and task: the higher the budget, the deeper the thinking, and the more tokens consumed.
Context compaction
Compaction is Pi’s core mechanism for handling long contexts. When the session approaches the context limit, Pi automatically summarizes older messages to free up space for subsequent conversation.
reserveTokens: the number of tokens reserved for the LLM’s response (default 16384). The smaller this value, the sooner compaction happens.keepRecentTokens: the number of recent tokens kept without being summarized (default 20000). Kept messages stay intact, ensuring the most recent discussion isn’t lost.
If you regularly handle long sessions, you can raise keepRecentTokens. Note, though, that this reduces compaction efficiency and may hit the model’s context-window ceiling sooner.
Retry strategy
The retry configuration is split into two layers: agent-level retries (handled by Pi itself) and provider-level retries (handled by the API SDK). The official documentation recommends keeping retry.provider.maxRetries at 0, because provider-level retries can burn quota before you even see a rate-limit error.
baseDelayMs controls the initial delay of exponential backoff: 2s → 4s → 8s. For tasks that need to run stably over a long time (for example, batch data crawling), you can reasonably increase this value.
Project trust mode
When Pi first starts in a project, it asks whether to trust that project’s .pi/ directory. This mechanism exists to prevent malicious project plugins from auto-loading.
Available values include ask (ask every time, the default), always (auto-trust), and never (never trust). In CI or automation scenarios, you can use the -a / --approve flag to skip the prompt.
Adding custom models with models.json
If your model isn’t among Pi’s built-in 20-plus Providers, you can add it via ~/.pi/agent/models.json. This file supports Ollama, LM Studio, vLLM, OpenRouter, Cloudflare AI Gateway, and any OpenAI-compatible API endpoint.
Referencing the full configuration notes in the official Pi Models documentation, here are the three most common scenarios:
Scenario 1: a local model via Ollama
apiKey being set to "ollama" is just a placeholder. Ollama doesn’t validate the API key, but Pi needs an auth value to show the model in /model. The two switches under compat target Ollama’s characteristics: it doesn’t support the developer role or the reasoning_effort parameter.
The name field gives a human-readable label. Pi uses this value both in the model selector and when matching the --model mode.
Scenario 2: OpenRouter routing configuration
OpenRouter lets you set routing preferences among multiple API providers. The configuration below follows the OpenRouter example in the official Pi documentation:
The openRouterRouting object is passed through verbatim to the provider field of the OpenRouter API. order specifies provider priority, and data_collection: "deny" declines to use your data for training.
Scenario 3: proxying the Anthropic API
If you use a third-party proxy for the Anthropic Messages API, you can configure it like this:
In models.json, apiKey and headers support three value-resolution modes: a direct literal, $ENV_VAR environment-variable interpolation, or !command command execution. Bitdoze notes in the Pi Coding Agent Setup Guide that Pi supports Ollama, LM Studio, vLLM, and any OpenAI-compatible endpoint. This extensibility is a major advantage over comparable tools.
Managing API credentials with auth.json
~/.pi/agent/auth.json stores the API keys and OAuth tokens for all providers. Its permission is set to 0600, allowing only the current user to read and write it.
auth.json supports three ways of resolving keys:
- Literal: use the API key string directly
- Environment-variable interpolation:
"$MY_KEY"or"${KEY_PREFIX}_${KEY_SUFFIX}" - Shell command:
"!security find-generic-password -ws 'anthropic'"
The official documentation notes that auth.json takes precedence over environment variables. This means if you’ve set both a DEEPSEEK_API_KEY environment variable and a deepseek entry in auth.json, the latter overrides the former.
One practical tip is to use a shell command to read the credential from the system keychain, avoiding writing your API key in plaintext to any file:
Model-switching strategy: which model to use when
One of Pi’s core strengths is model-agnosticism. You can pick a different model for different tasks, and switching is instantaneous.
How to switch
| Action | Shortcut / command | Notes |
|---|---|---|
| Open the model selector | Ctrl+L or /model | Quickly switch models |
| Cycle through models | Ctrl+P | Rotate through the enabledModels list |
| Adjust thinking level | Shift+Tab | Toggle thinking depth |
| Interrupt the current action | Escape | Cancel the running task |
| Send a steering message | Enter | Interrupt the agent’s current workflow and respond immediately |
| Send a follow-up message | Alt+Enter | Append a message after the agent finishes its work |
| Quit | Ctrl+C (press twice) | Exit Pi |
| Reference a file | @ | Fuzzy-search files |
| Run a command | ! | Send a command’s output to the model |
| Silent command | !! | Run a command without adding it to context |
The shortcut table partly draws on the Pi Agent Chinese guide and DeepakNess’s setup article.
A recommended layered strategy
Experience from multiple community users converges on the same pattern: use models in layers, matching capability to task complexity. The following is drawn from DeepakNess and Bitdoze’s articles:
| Task type | Recommended model | Thinking level | Reasoning |
|---|---|---|---|
| Quick edits, file operations, batch scripts | DeepSeek V4 Flash / MiniMax M2.7 | low or off | Extremely cheap, plenty for fast tasks |
| Everyday coding, small-to-medium refactors | DeepSeek V4 Pro / Qwen 3.6 Plus | medium | Balances quality and cost |
| Deep analysis, architecture design, complex debugging | DeepSeek V4 Pro / Claude Sonnet 4 | high or xhigh | Needs a deeper reasoning chain |
| Visual tasks (screenshot understanding, UI analysis) | Kimi K3 / Claude | depends on the model | Proxied via pi-vision-proxy when the main model has no vision |
DeepakNess provides a concrete data point in his article: crawling 285,000 URLs with DeepSeek V4 Flash took about 1.5 hours with a total cost of $1. That illustrates the cost-effectiveness of low thinking level plus a cheap model on batch tasks.
enabledModels wildcards
To make Ctrl+P switching more efficient, it’s worth setting an enabledModels list in settings.json:
Wildcards match all qualifying models. If you only need two or three specific models, you can also write exact IDs:
How Thinking Level affects output quality
Pi’s thinking level is a layered parameter that controls how deeply the model reasons before answering. Based on the official Settings docs at pi.dev and the thinkingLevelMap explanation in models.md, different levels correspond to different behavioral characteristics:
| Level | Use case | Token budget (default) |
|---|---|---|
| off | Simple Q&A, tasks that need no reasoning | no reasoning tokens |
| minimal | Very simple judgments, such as “yes/no” classification | 1024 |
| low | Light reasoning, e.g. formatting, simple conversions | 4096 |
| medium | Routine coding tasks | 10240 |
| high | Complex refactors, debugging | 32768 |
| xhigh | Deep analysis, architecture design | 65536 |
| max | Extremely complex multi-step reasoning | provider cap |
The differences between levels aren’t linear. The biggest quality gain is from low to medium; from high to xhigh, the marginal returns diminish. In practice, 80% of everyday tasks get satisfactory results at the medium level.
For models that support thinkingLevelMap, you can finely control in models.json which provider-side parameter each level maps to. For example, a given model might only need the high and max levels, with the middle levels skipped:
This mechanism comes from the thinkingLevelMap explanation in the Pi Models documentation. When a model doesn’t support certain levels, Pi automatically jumps to the adjacent supported level.
Context management: compaction, session trees, and manual control
Long sessions are the norm for coding agents. Pi provides three layers of context-management mechanisms.
Automatic compaction
Compaction runs in the background. When the context approaches the model’s window limit, Pi automatically summarizes older messages. compaction.reserveTokens controls when compaction triggers: it fires when the remaining tokens drop below this value. compaction.keepRecentTokens ensures the most recent messages aren’t summarized.
If you want finer control, you can trigger /compact manually and Pi will immediately compact the current session.
Session-tree management
The /tree command displays the session history as a tree structure. Each branch represents a conversation path. Pi supports:
/resume: pick up a previous session and continue working/new: start a new session/fork: branch from the current session to begin a new line of conversation
This design lets you try different solution paths without losing context.
A complete configuration template
Combining all of the above, here’s a complete configuration you can put into daily use.
Global settings.json
Global APPEND_SYSTEM.md
Project .pi/settings.json (overriding the global compaction strategy)
This override makes short-session projects that need frequent compaction trigger it earlier, avoiding wasted context window.
Summary
Pi’s configuration system revolves around one core principle: layer on layer, precise control. Global configuration defines general behavior, project configuration overrides specific needs, AGENTS.md conveys project context, and APPEND_SYSTEM.md constrains the agent’s behavioral patterns.
Once you understand what each layer is responsible for and its priority, Pi’s “minimal core + external configuration” design philosophy stops being a “too few features” weakness and becomes a “you control everything” strength. When facing different tasks each day, you only need to switch models with Ctrl+P and adjust thinking depth with Shift+Tab to move quickly between different working modes.
If your configuration already covers the main files mentioned in this article, the next step is to focus on the extension system: use pi install to add packages such as pi-web-access (web search), pi-codex-goal (task tracking), and pi-vision-proxy (vision proxy), gradually building a Pi environment fully suited to your own workflow.
Sources:
- Pi official documentation
- Pi official Settings documentation
- Pi official Providers documentation
- Pi official Models documentation
- DeepakNess: Setting Up and Using the Pi Coding Agent
- Bitdoze: Pi Coding Agent Setup Guide
- Pi Agent Chinese guide
Author: Cyber Herald
Original URL: https://torchtree.com/en/post/pi-agent-configuration-guide/
Publish Date: 2026-07-22
License: CC BY-NC-SA 4.0